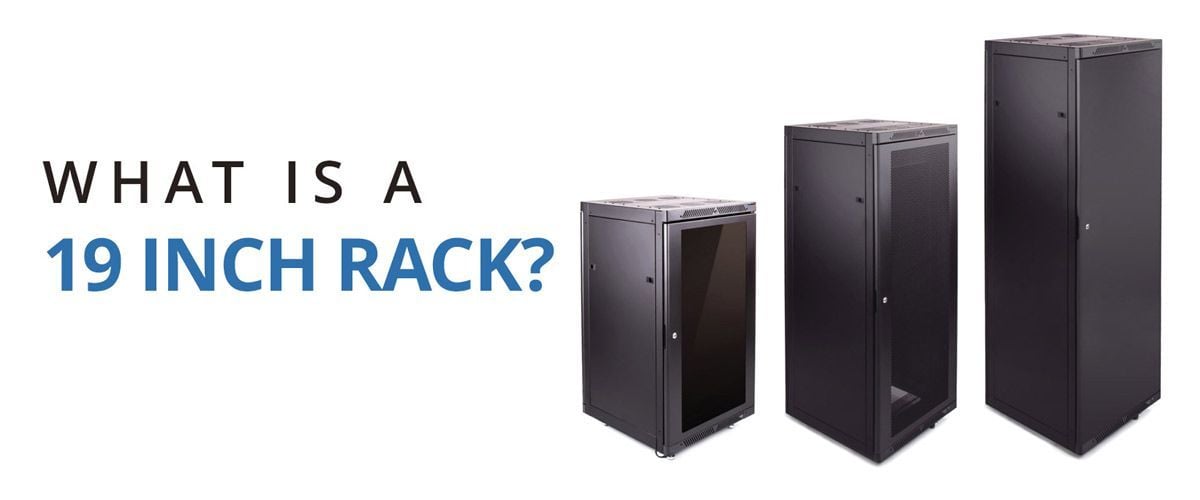
Are you looking to save space and compactly organize your equipment? You cannot go wrong by choosing a wall mount 19-Inch Rack. Whether you are looking to get a wall mount rack to store your CCTV equipment, home entertainment tech or networking equipment, you may find there are still questions you need answered.
Unlike other cabinets and enclosures, a wall mounted rack is perfect for those seeking something smaller and easy to use.
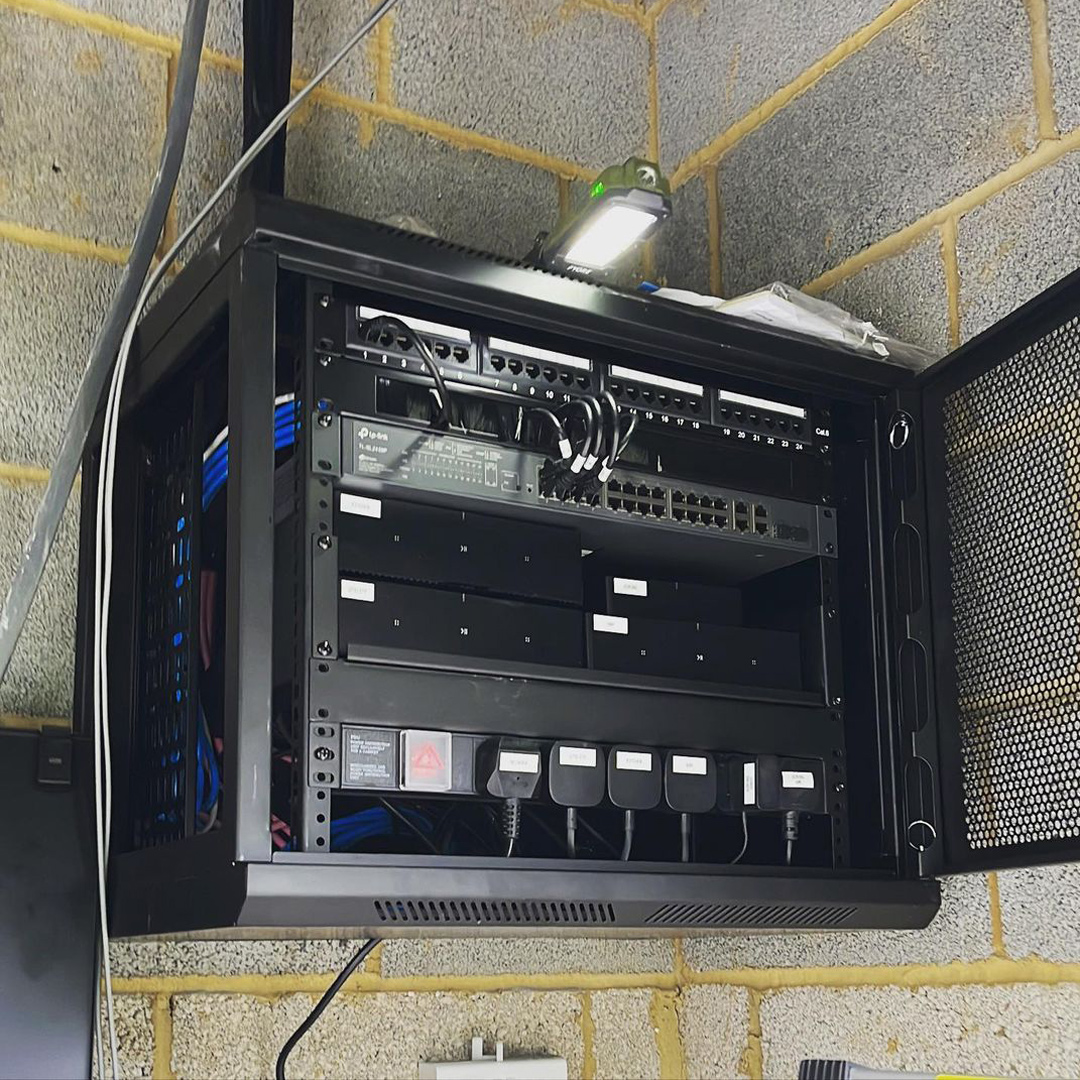
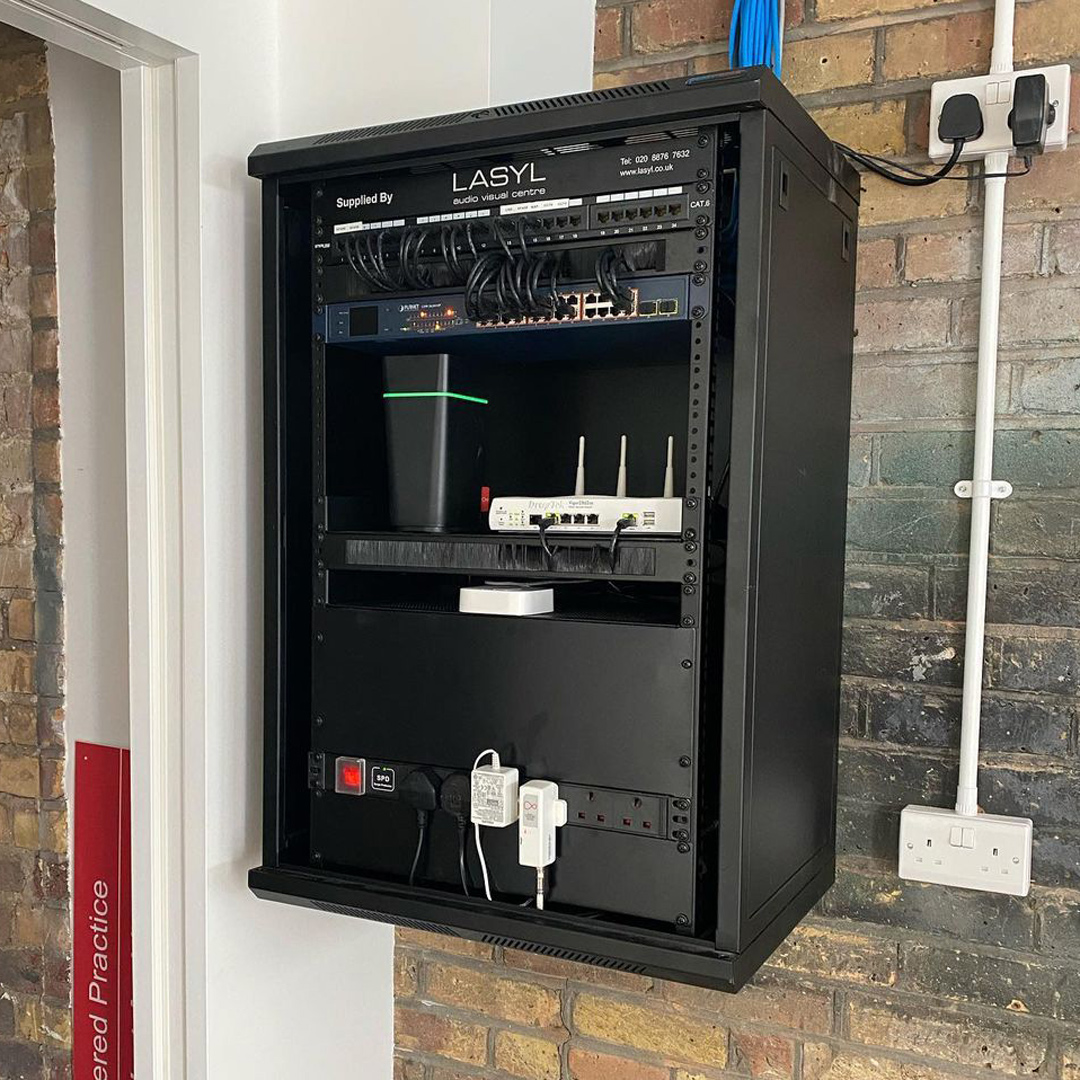
Such a versatile rack has been used by countless businesses and individuals for their networking hardware, patch panels and any number of other rack-mounted devices without taking up any floor space and keeping your space neat.
Let us dive into the benefits of a wall mounted rack and how to install it.
Benefits of Wall Mounted Racks
- Saves floor space
Have you got limited space? Wall Mounted Racks are made to be compact and easy to install on any wall. The perfect option for small offices, home offices and utility spaces where space is restricted and constrained.
- Increased protection of hardware
A 19-Inch Rack helps to reduce clutter and messy cabling to make your space tidier, stopping equipment from being damaged or becoming a fire hazard. A wall mounted rack also goes one step further, saving your equipment from potential hazards by moving your gear away from direct day-to-day contact.
- Easy to set up and install
Continue reading on with our tips and instructions further down this article, but Wall Mount Racks are made to have minimal moving parts and a robust design, making them simple to install.
- Affordable and low maintenance
Wall mount racks can be more cost-effective than larger, floor-standing alternatives while keeping rigidity and security.
- Cable Management
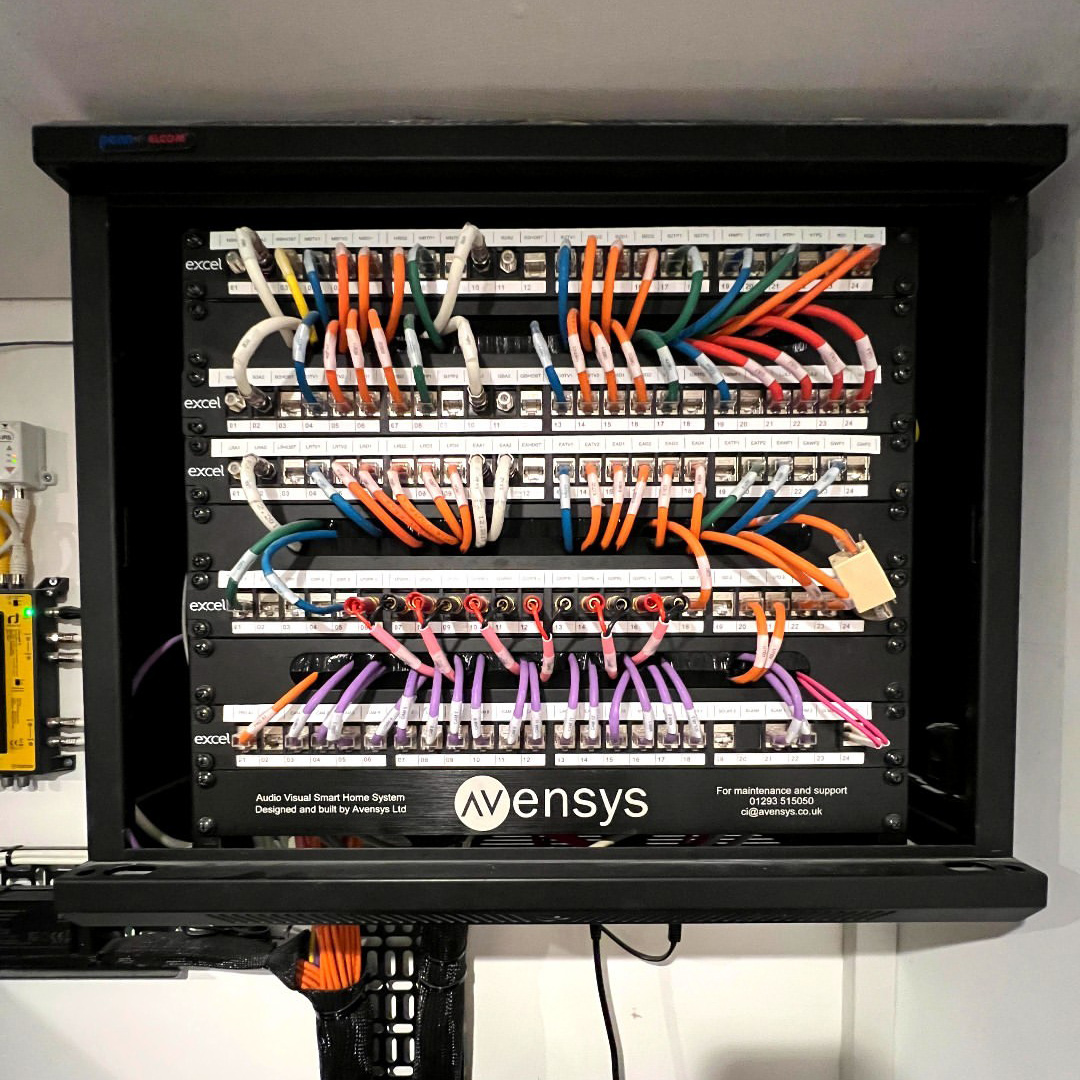
Wall Mount Racks makes it easy to deal with cabling with direct access for easy termination and updates, keeping it tidy and protected (and install additional cable tie bars and cable management trays). If cabling is already installed in your wall, you can use a wall mount rack to create a reachable, protected access point for your equipment.
- Organized and Easily Accessible
19-Inch cabinets and enclosures offer a structured and organized way to store and access equipment. Its compact size makes it easier to manage maintenance and access equipment and cables more efficiently. For those who work in IT or networking, it is necessary, as it makes upgrading components or troubleshooting hardware issues simple.
- Better cooling and ventilation
Depending on your placement of a wall mount rack, they can give better airflow around equipment, aiding cooling and ventilation, as well as contributing to better performance.
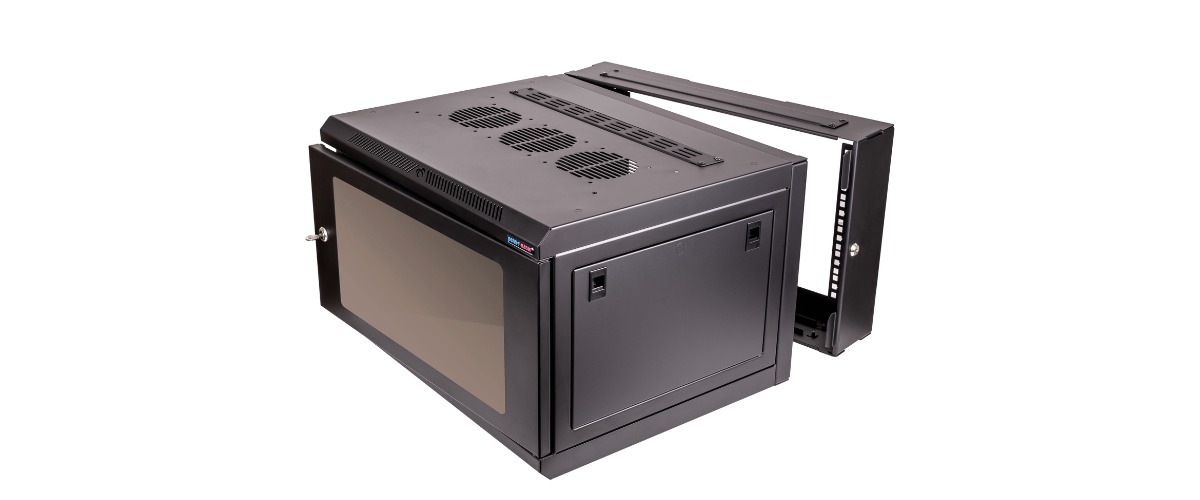
How to Install a Wall Mounted Rack
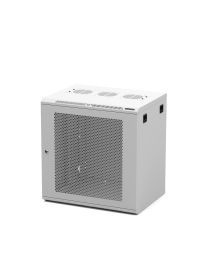
Choose your wall mounted rack
So, you know that you need a Wall Mounted Rack, but now you need to figure out the right one and the place to set it up.
Gather an inventory of the equipment you want to install; then calculate how much space you need. We have a handy free rack unit calculator that will help you figure that out.
From there, you can check out our range of wall mounted racks to see what matches your requirements, e.g. if you need a polycarbonate or a vented door. Many in our range come with wall brackets, making installation easier.
Choose your location
Is your surface a brick, concrete wall, or drywall? Not all walls can take a wall mount unit, so make sure that your installation will not damage your wall, and that your rack will fit into the space you are installing it into. If you are doing a drywall-based installation, we recommend installing a wall bracket into studs, ensuring your set-up is more secure. We also suggest using a stud finder and making a pilot hole to ensure you know where you are installing.
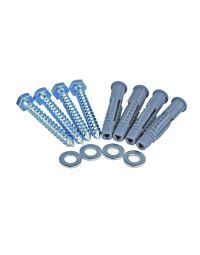
Check if you have the right fasteners
At Penn Elcom, our racks come with fasteners specifically chosen for our range, able to be directly installed with a wall bracket included.
Mark where you are installing your rack
Using the mounting holes in your wall bracket, mark onto the wall where you want to install your rack. Make sure the holes are aligned perfectly and are level.
Remember that you need to access not only to your equipment but your cabling as well. We also advise that you do not preinstall any equipment into your rack before securing at the final stage.
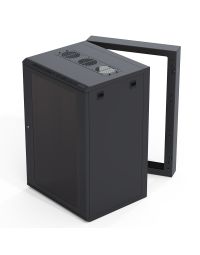
Drill the wall bracket directly into the wall
Following your marks, screw in the bracket and check it is fixed firmly. We suggest using an electric drill to ensure a secure mounting.
Secure your rack onto the bracket
Once you have established it is well fastened, you can install your rack onto the bracket, and then start setting up your equipment and cabling.
Conclusion
Efficient and straightforward, wall mounted racks can be the perfect choice for your 19 Inch installation. Wall Mount Racks can save you floor space, be affordable, and offer good airflow, as well as easy to install and maintain. At Penn Elcom, we made our racks easy to mount, with fasteners and wall brackets included in our ranges, making installation stress-free.
If you want to find out more about our range, you can explore it here. Penn Elcom is the number one place to help you with 19 Inch solutions for cable management, cooling and fan systems or rack drawers to make your wall mount set up perfect.